

GEO 2.5 Guide
User Manual for the GEO 2.5 Rooftop Tent
GEO 2.5 GUIDE
DOWNLOAD PDF GUIDE
Dimensions & Specs
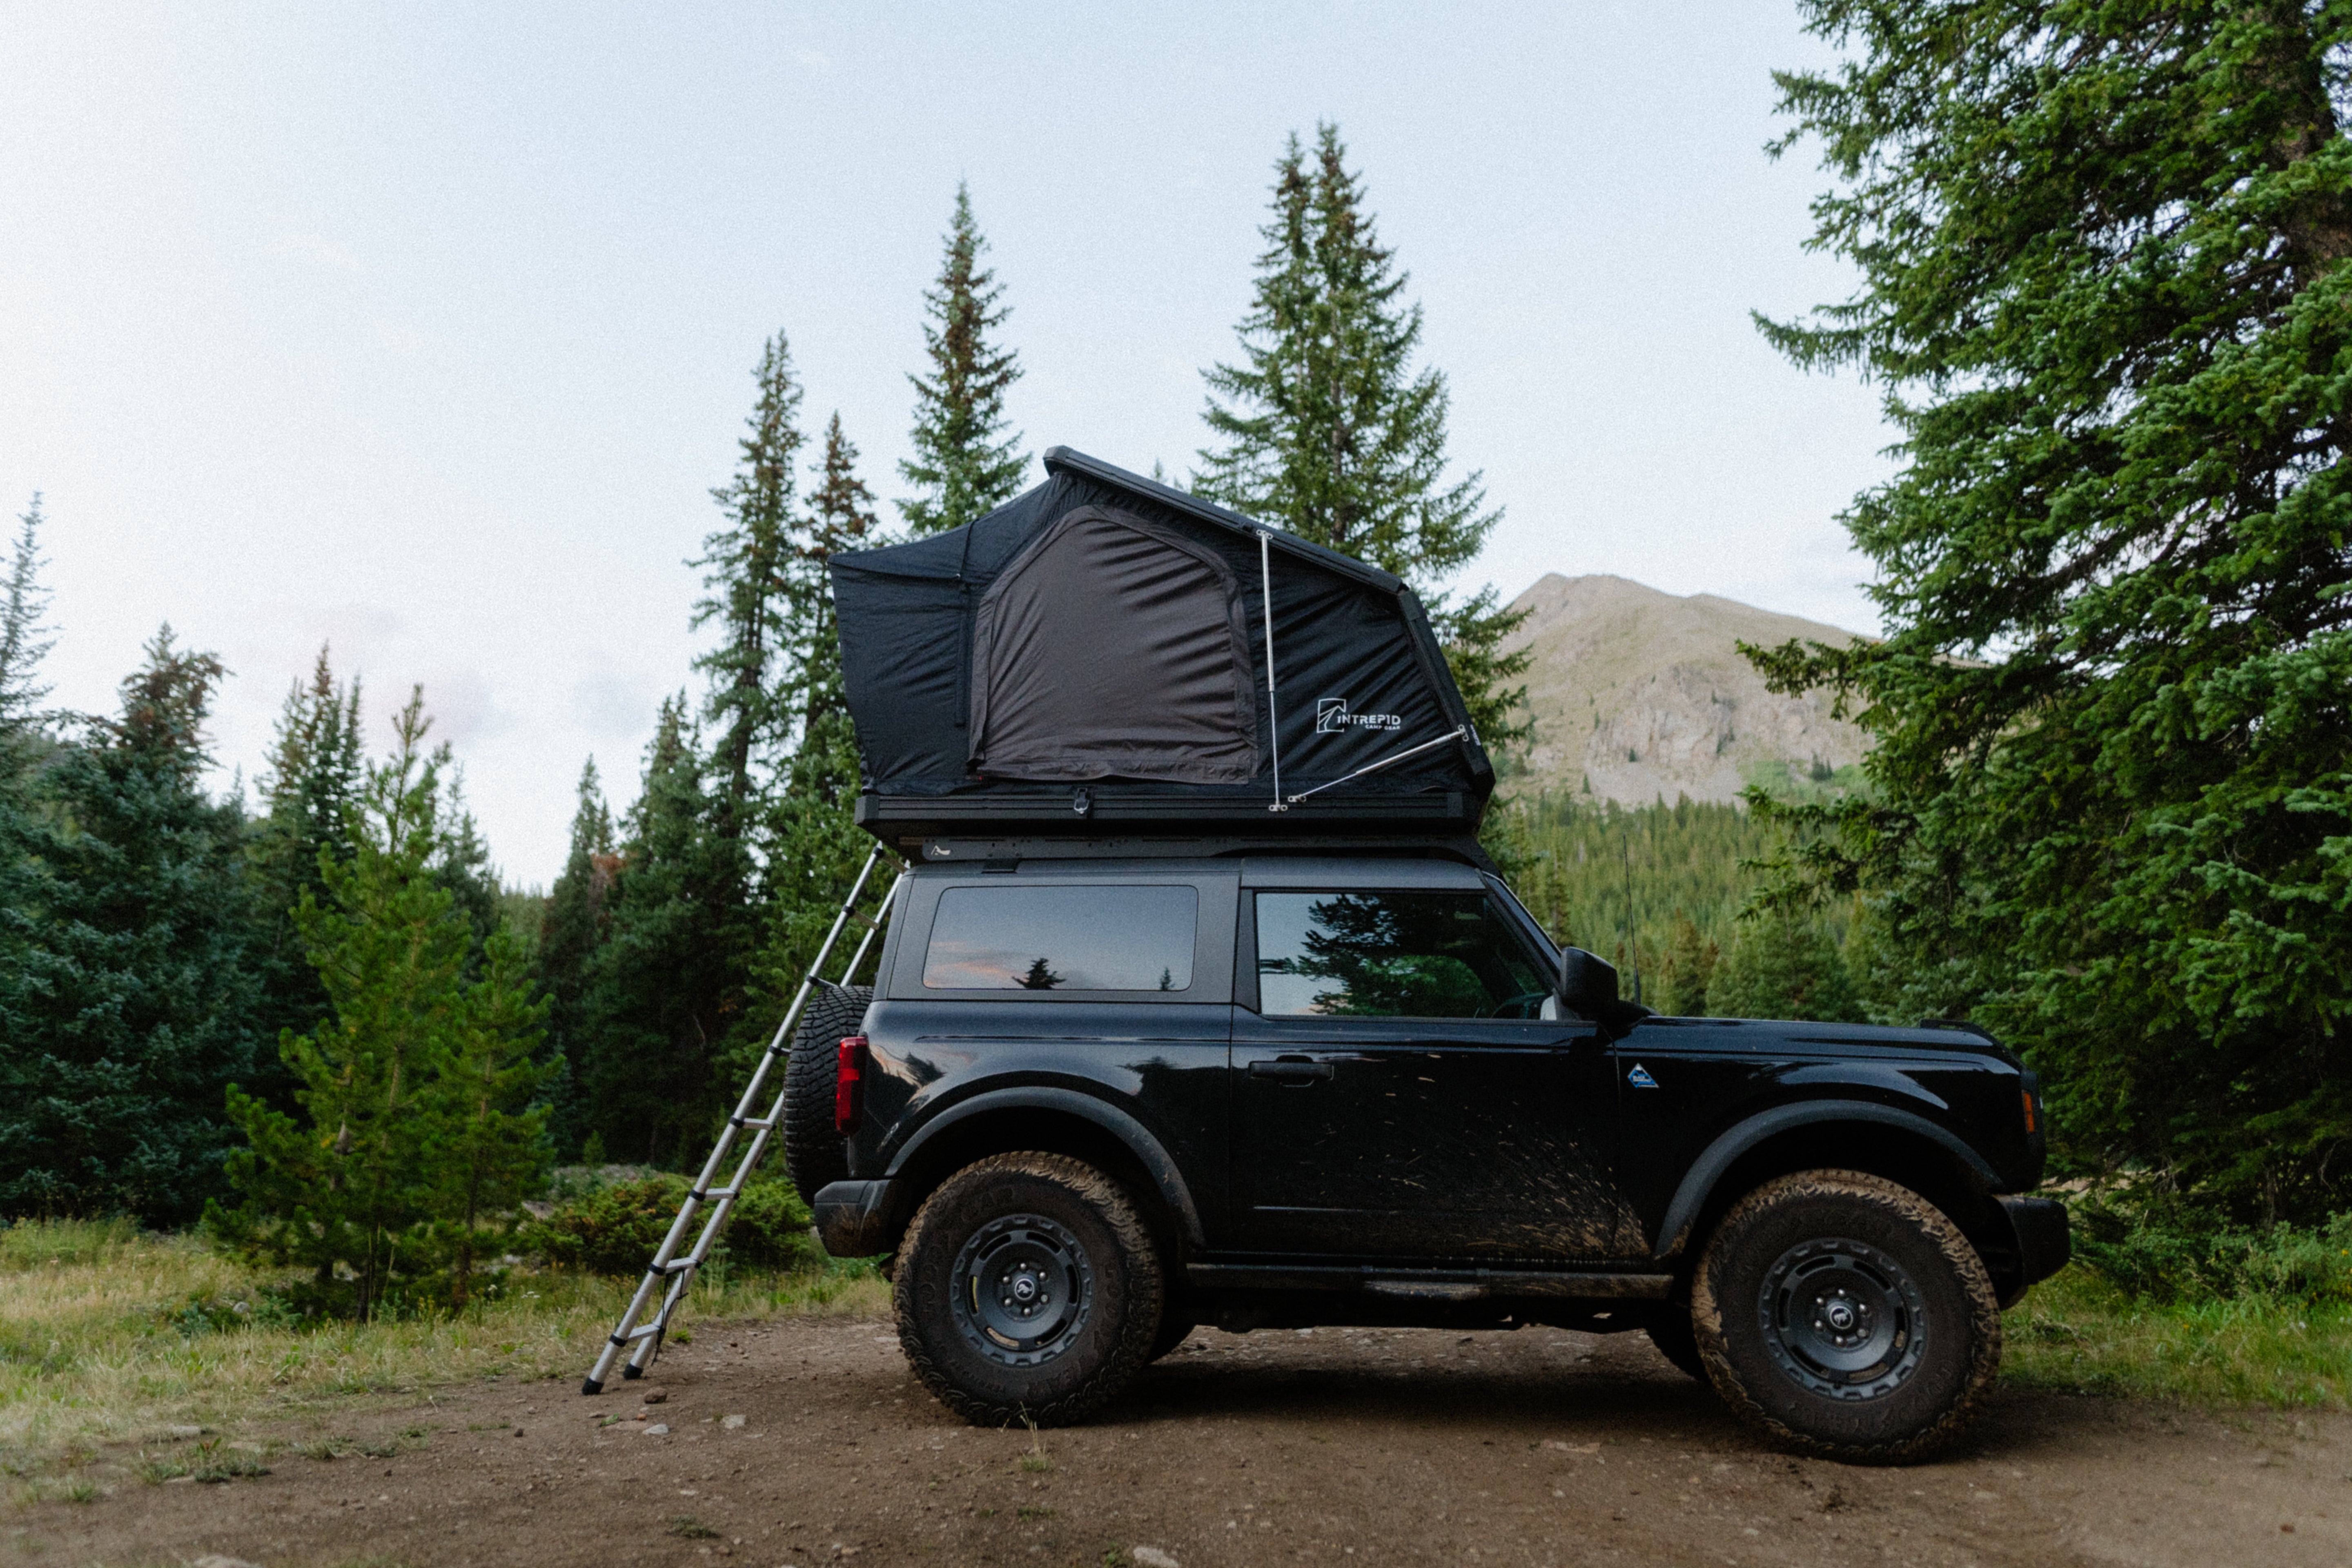
GEO 2.5 (PRO) Dimensions
The GEO 2.5 has an interior dimension of: 86.5" x 53" x 51" / 220cm x 135cm x 130cm
The GEO 2.5 has an exterior dimension of: 88.5" x 55" x 58" / 225cm x 140cm x 147cm
The GEO 2.5 has a height of 7'' (18cm) when closed
GEO 2.5 specs
Weight:
- Tent frame & fabric: 68kg/150 lbs (excluding all detachables)
- With mattress & condensation mat : 75kg/165 lbs
- Ladder: 7.5kg/16 lbs
Materials:
- Honeycomb aluminum Aluminum extrusion Body Skin fabrics 300D High Tenacity Double-Rip Polyester + 10.000mm Poly Urethane Waterproof back coating + PFAS free water repellent surface coated + Flame Retardant treatment + Ultra-Violet resistant
- Ceiling Fabrics: 210g Breathable Polyester Cotton + PFAS free water repellent surface coated + Poly Urethane back coating
- Mattress Skin - 210D Welded waterproof fabric with PFAS free WR coating + Foam - 1.5" (38mm) Poly Urethane, Poly Ethylene, Aluminum insulation triple layer body foam + Condensation Mesh - 0.75" (15mm) Polyester coil spacer + Total 2.5" (63mm) Thick mattress
Other Info:
4 Seasons
2 Adults, 1 child capacity
Hardware & Components
GEO 2.5 Hardware & Components
1 x tent
6 x Vehicle connection brackets Stainless steel lock plates
1 x Logo plate
4 x Additional M6 T-nut
1 x Torx T30IP for bolt M13 & Slim combination spanner
1 x mattress
1 x Ladder bracket set
1 x 8 step ladder
1 x Handle, bolts, and spring washer set
GEO Tent Installation
ADJUSTING THE CROSSBARS
Manufacturer recommendation: distance between crossbars should be 36" (91cm) minimum for more stability while driving. This distance is also recommended between mounting points on platform racks.
PLATFORM RACKS: Platform racks can also be used, but may require alternate installation rails. Popular platform racks like Prinsu or Pioneer racks may require brand-specific mounting hardware or alternate methods of installation. CROSS BARS: We recommend you purchase heavy-duty, aftermarket crossbars with a dynamic weight rating of at least 176lbs (80kg). Be sure to check your system’s weight capacity and factor in any other equipment or accessories you plan on mounting, to ensure it meets the crossbar’s weight recommendation and original car maker’s roof rail limit
Hardware preparation
Step 1
Insert x4 M8 bolts into the C tube at the bottom of tent.
Step 2
Adjust x2 M8 bolts on the 2 sides of the cross bar as the picture shows.
Step 3
Attach Mounting Plate to M8 Bolts. Utilize the narrowest hole spacing allowed by your crossbar.
Step 4
Tighten M8 Nuts until the mounting plate bends 5°–15°. Marking the bolt position as shown in the picture will help for future reattachment and to monitor the hardware.
Step 5
Installing Rail Components
1. Insert x2 M6 T-Nuts into the groove of the top frame.
2. Move it to the position where you want to install the handle.
3. Install the handle, x2 spring washers and x2 M6 bolts, and tighten the bolt.