Cross mount install guide

250 Cross Mount Installation Guide
DOWNLOAD PDF GUIDE

300 Cross Mount Installation Guide
Download PDF Guide

SOLO Cross mount installation guide
Download PDF guide
Set up Steps
Step 1
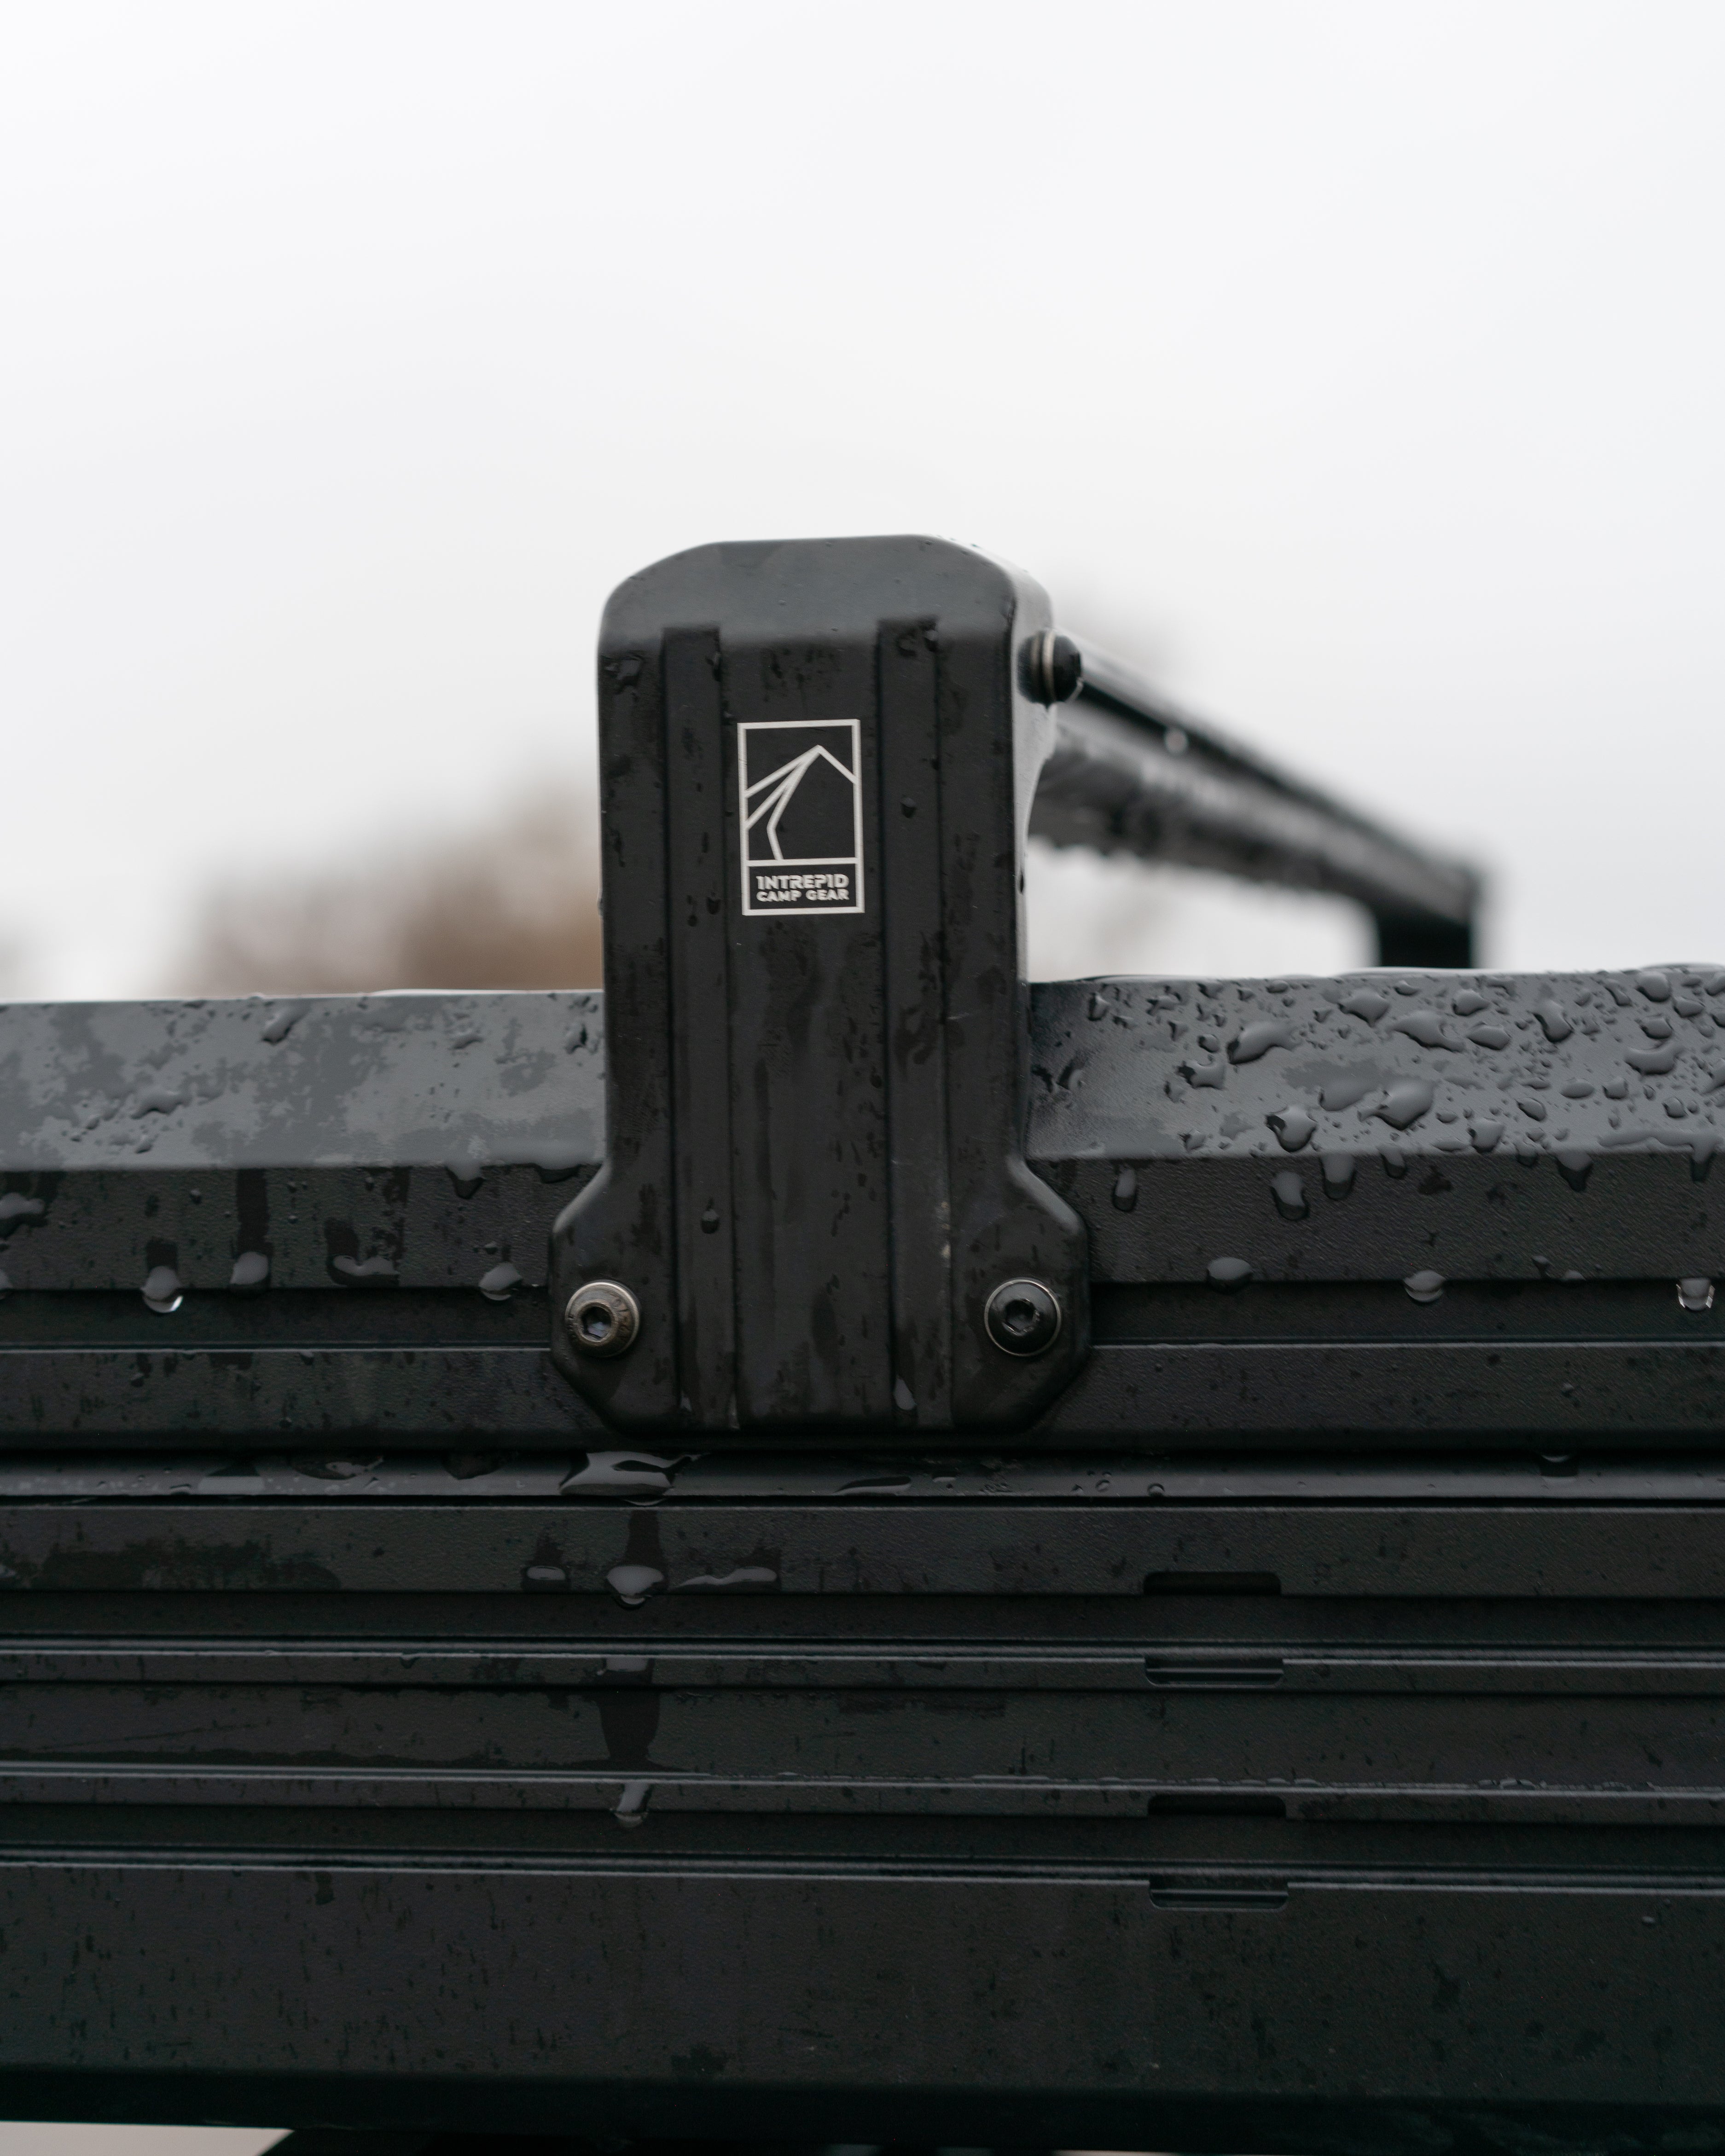
Insert x2 T-Nuts into the groove of the top frame where you want to install the Top Crossbar Side Bracket. Insert x2 T-Nuts into the C-tube of the Top Crossbar.
Step 2
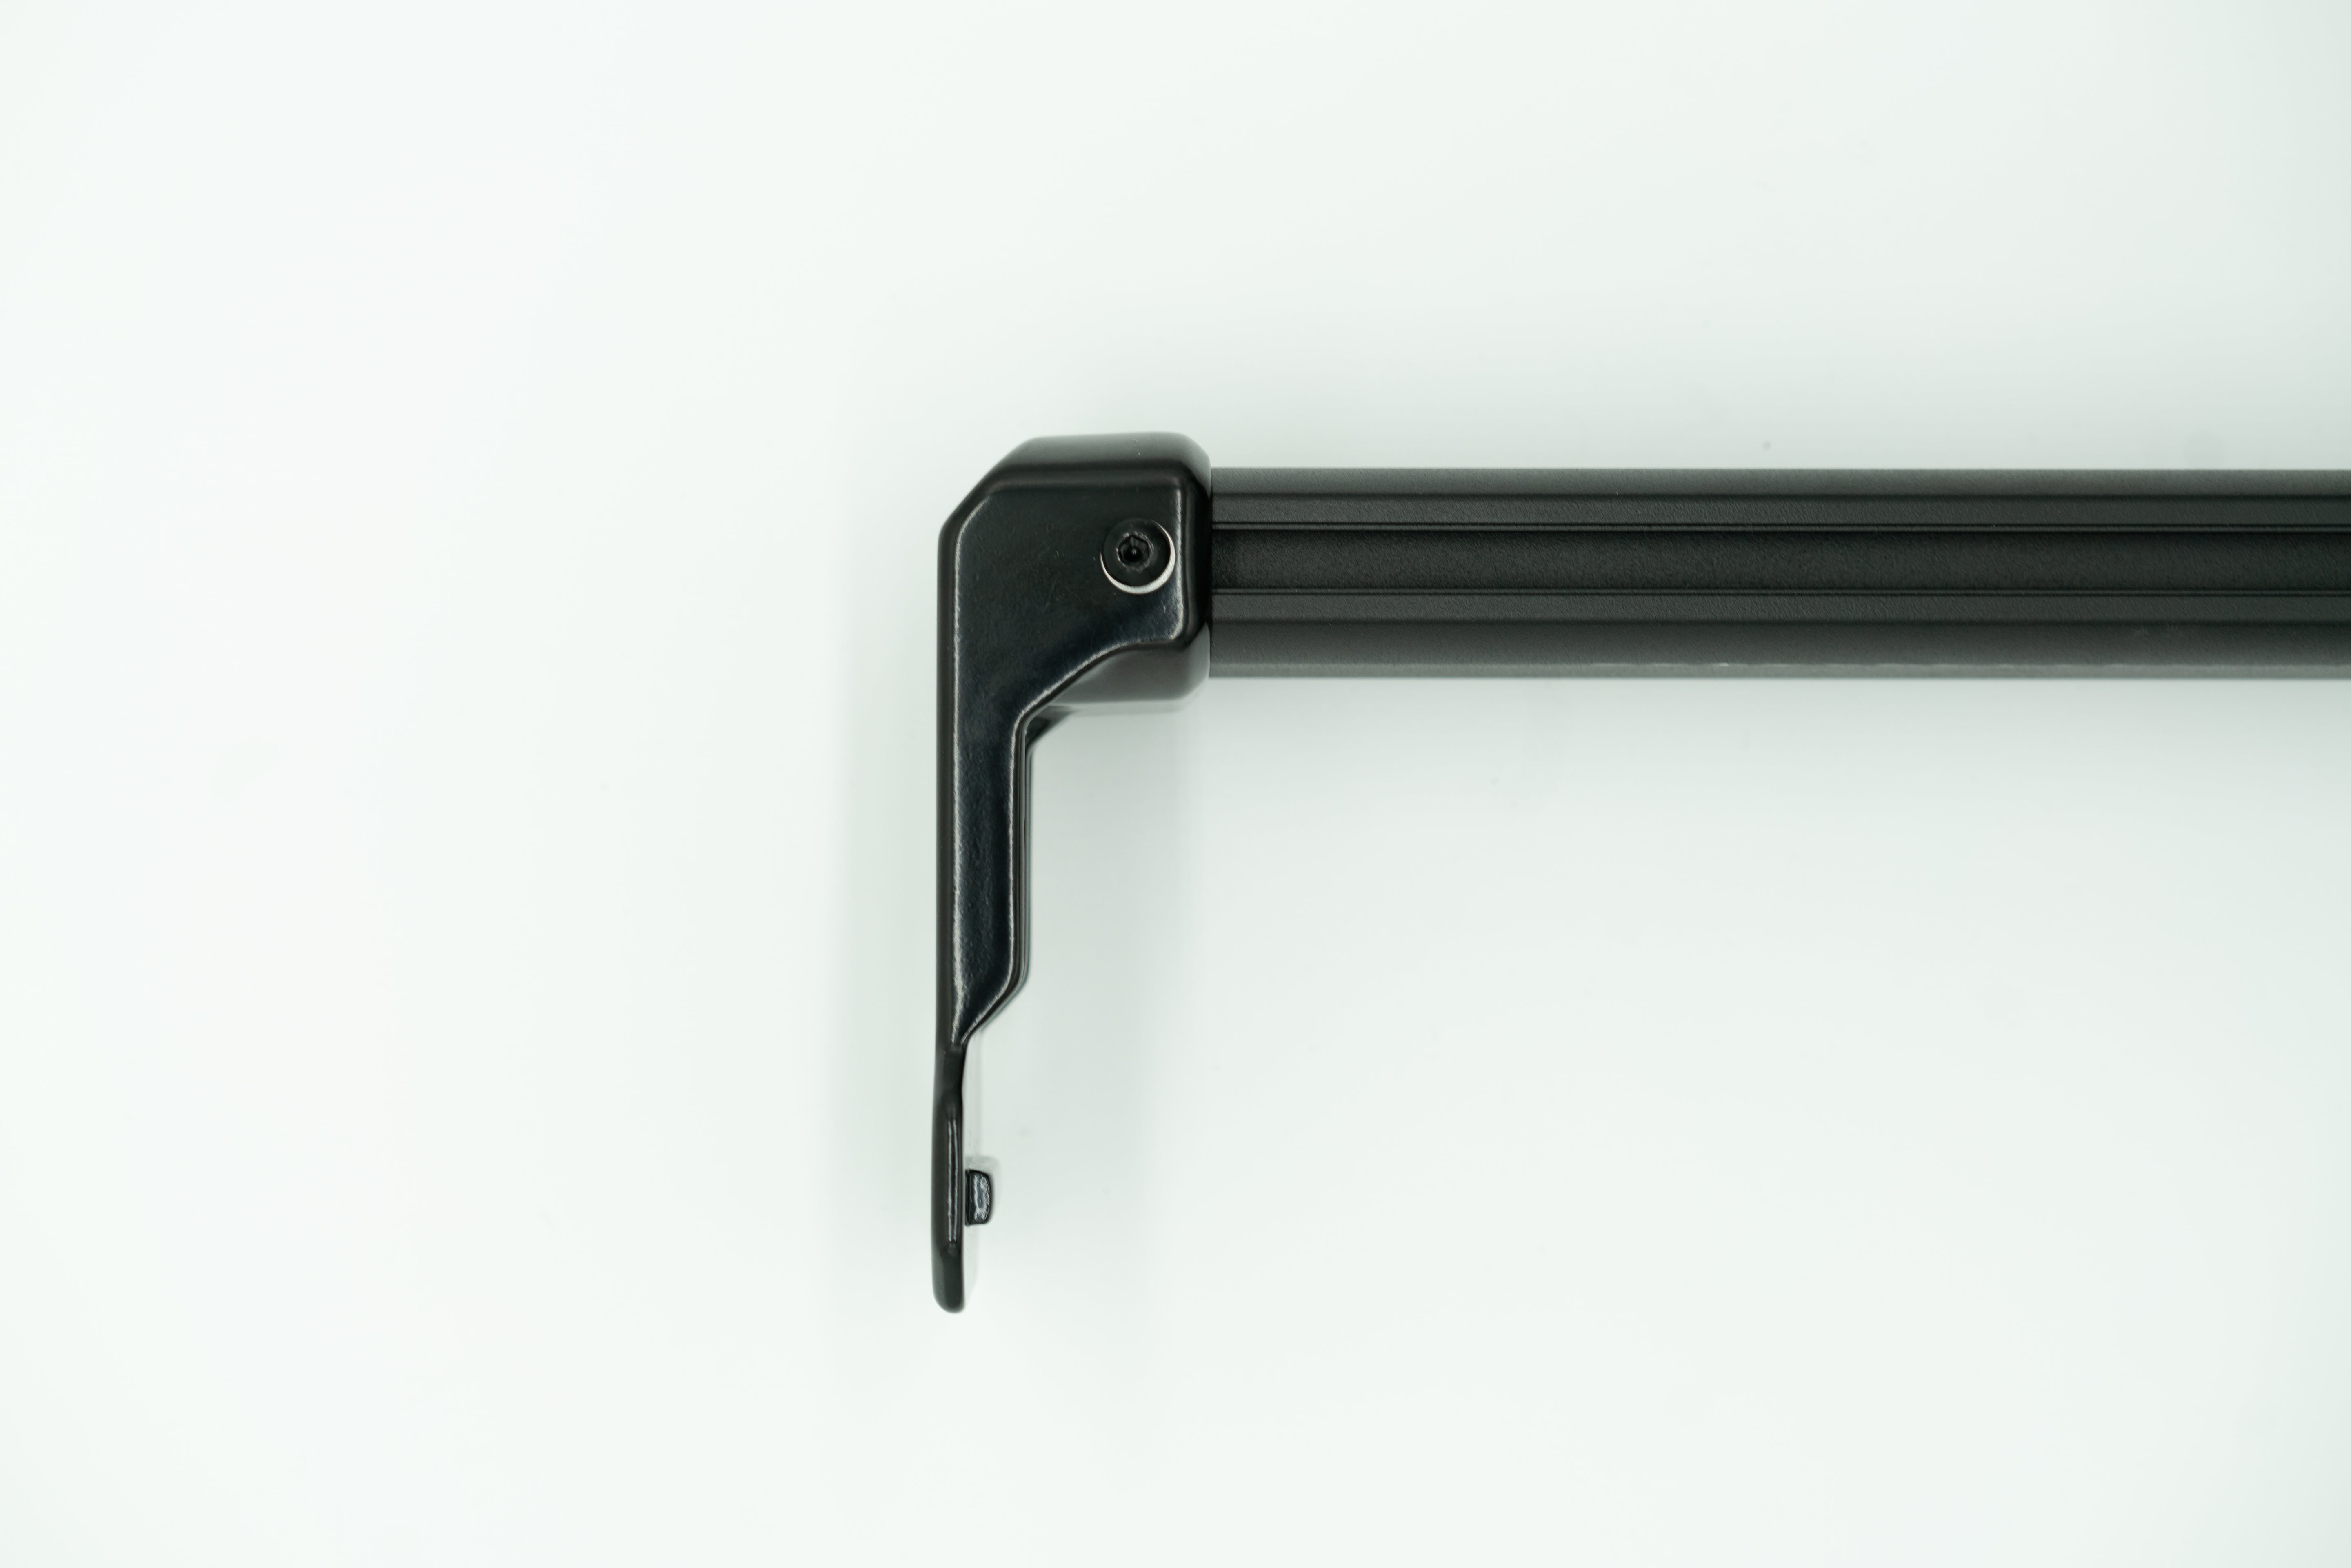
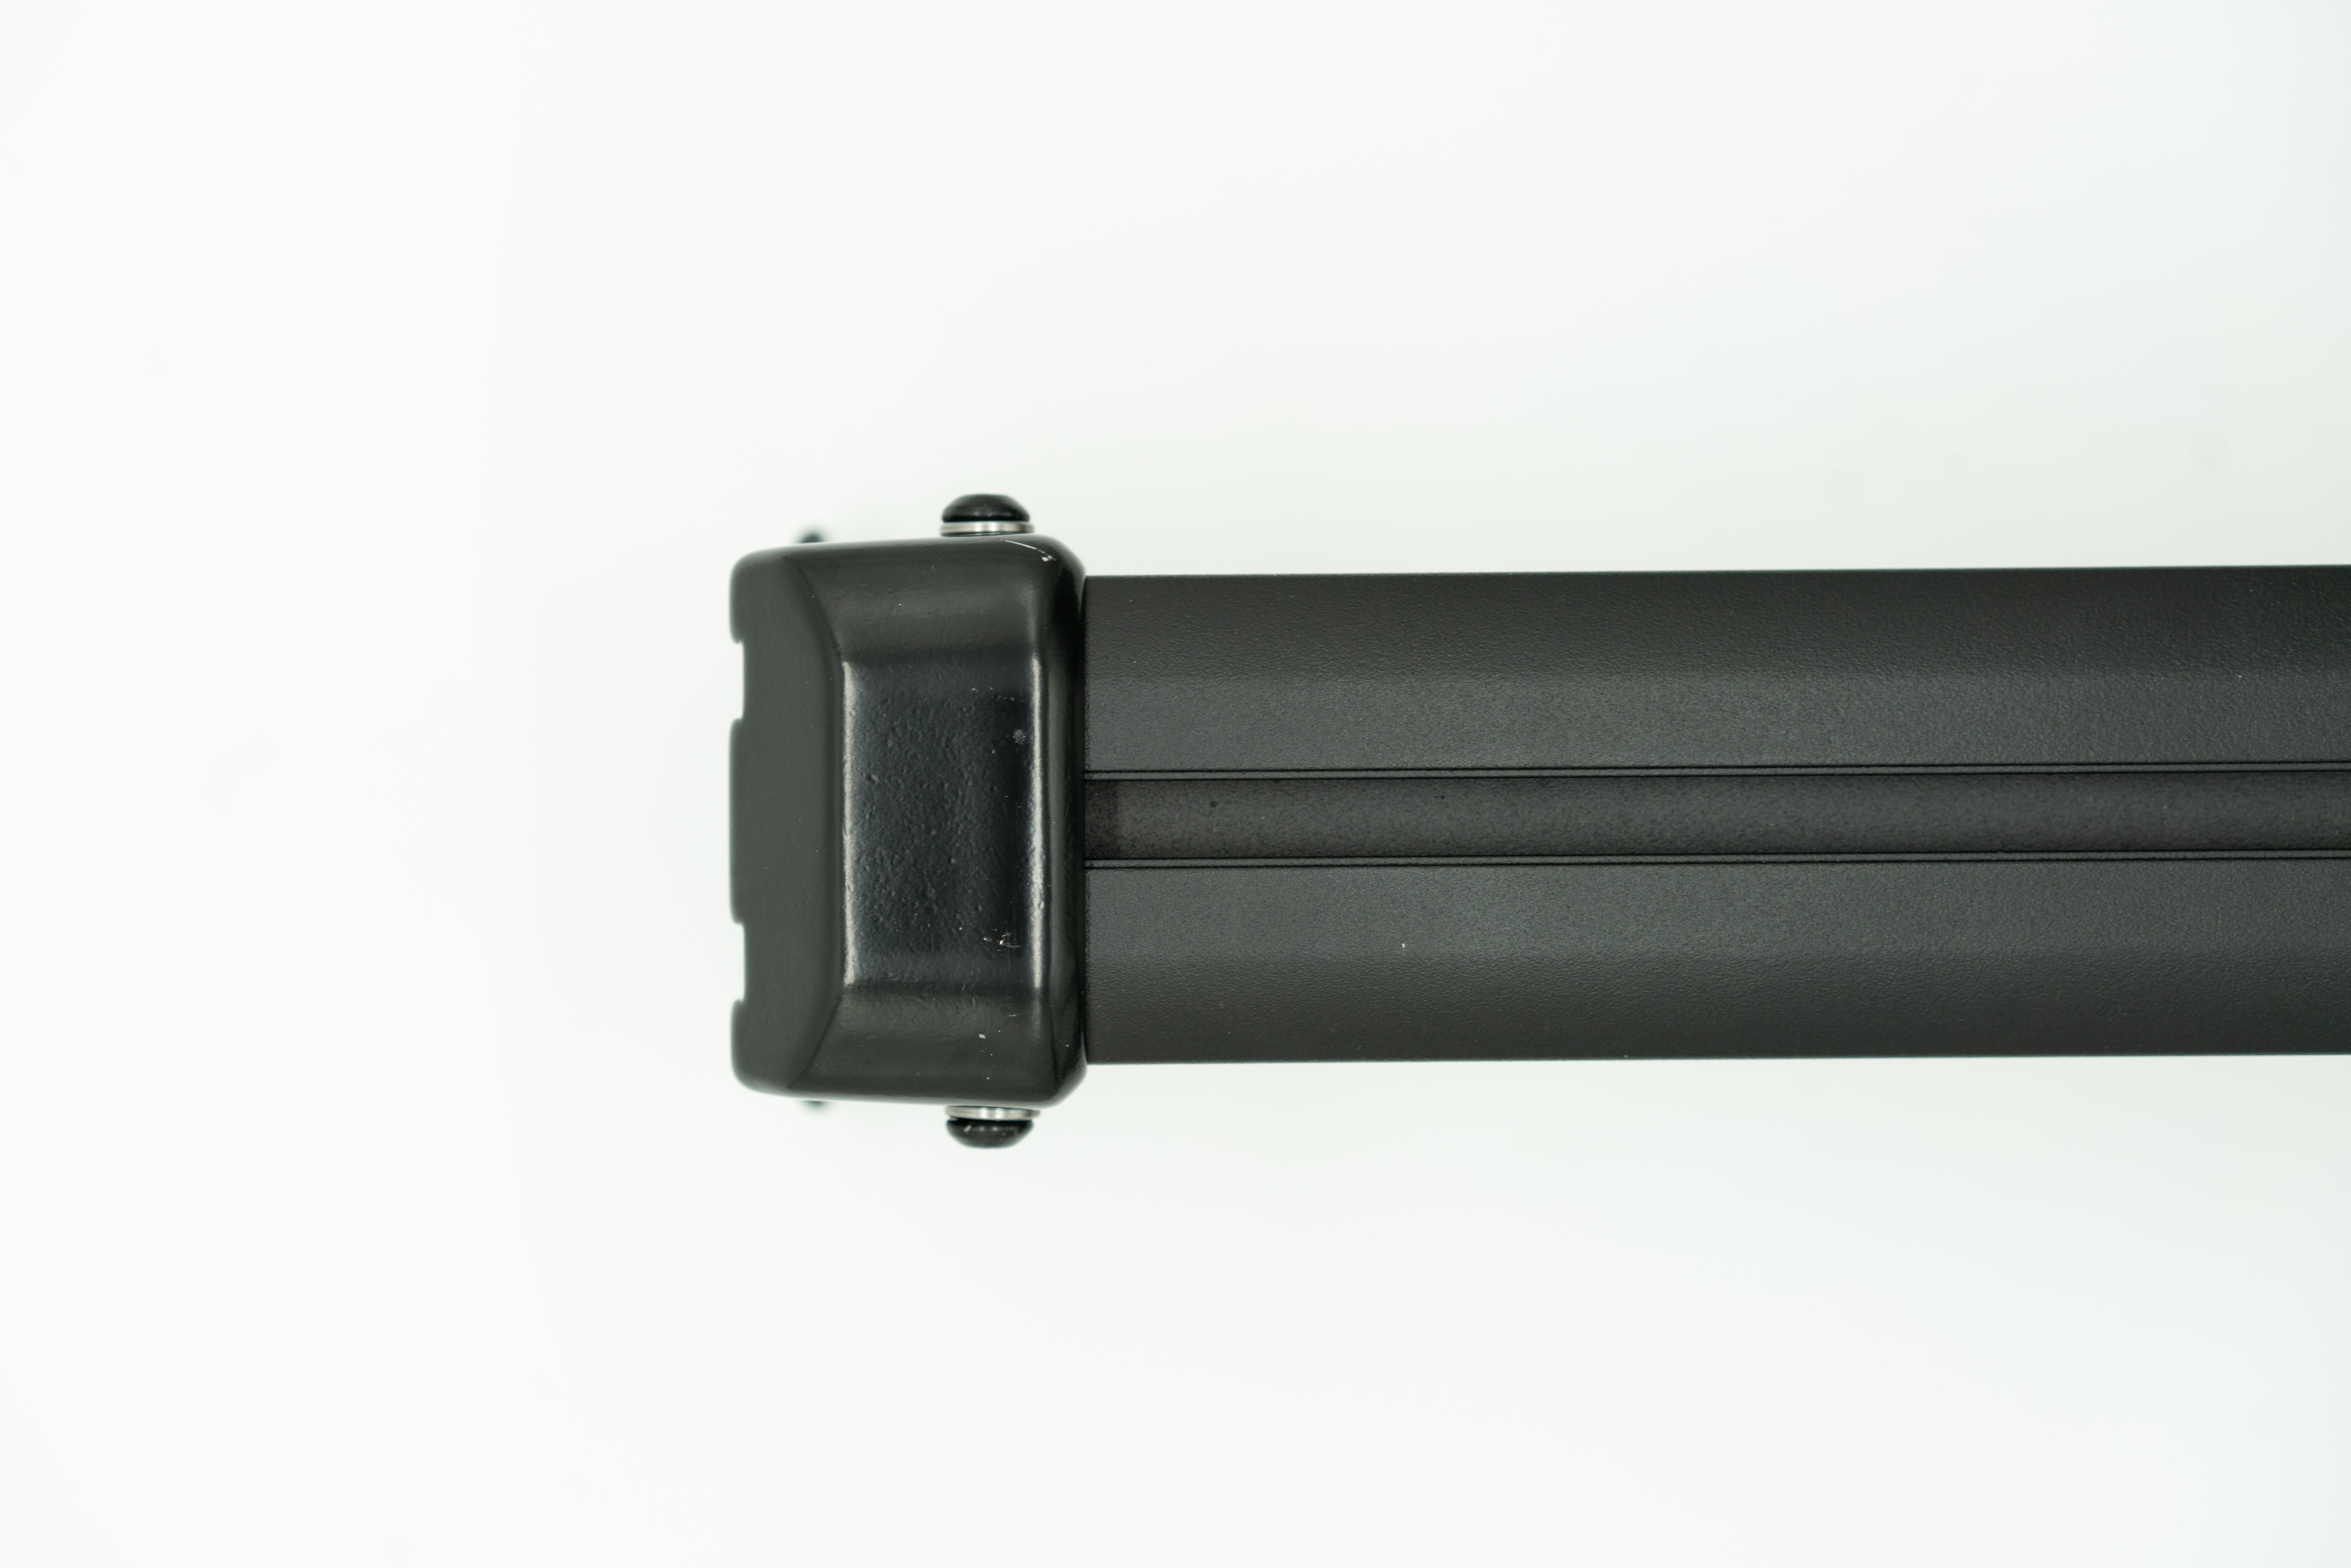
After mounting the side bracket to the crossbar, adjust x2 bolts and x2 washers as the picture shows, then tighten it into the T-nut.
Step 3
Insert x2 bolts and x2 washers into the groove of the top frame as the picture shows, then tighten it.
Step 4
To ensure that the crossbar is stable enough for you to attach the other side, we recommend attaching one side first.
Dimensions
Dimensions
SOLO:
Length: 33.8” (860mm)
Height: 33.8” (860mm)
Width: 2.2” (55mm)
250:
Length: 55.1” (1400mm)
Height: 33.8” (860mm)
Width: 2.2” (55mm)
300:
Length: 63.3” (1610mm)
Height: 33.8” (860mm)
Width: 2.2” (55mm)
Components
Components
2 x top cross bars
16 x spring washer
16 x M6 bolt torx head
16 x M6 T-Nut
1 x Torx T30IP wrench
Spare Parts
2 x Spring washers
4 x M6 T-Nuts
2 x M6 bolt torx head

